About Iceland
Safetravel
Visa information
Geography of Iceland
General Information
The Northern lights
Volcanic eruptions
Iceland Academy
Plan your trip
How to get there
Accommodation
Things to do
Map your journey
Getting around
Visitor numbers
Carbon footprint
Destinations
The Regions
Scenic Routes
National Parks
Trip suggestions
Towns & Villages
Inspiration
Adventure
Culture
Wellness
Food and beverages
Sustainable Travel
LGBTQ+ Travel
Events
En
De
Es
Fr
En
De
Es
Fr
About Iceland
Safetravel
Visa information
Geography of Iceland
General Information
The Northern lights
Volcanic eruptions
Iceland Academy
Plan your trip
How to get there
Accommodation
Things to do
Map your journey
Getting around
Visitor numbers
Carbon footprint
Destinations
The Regions
Scenic Routes
National Parks
Trip suggestions
Towns & Villages
Inspiration
Adventure
Culture
Wellness
Food and beverages
Sustainable Travel
LGBTQ+ Travel
Events
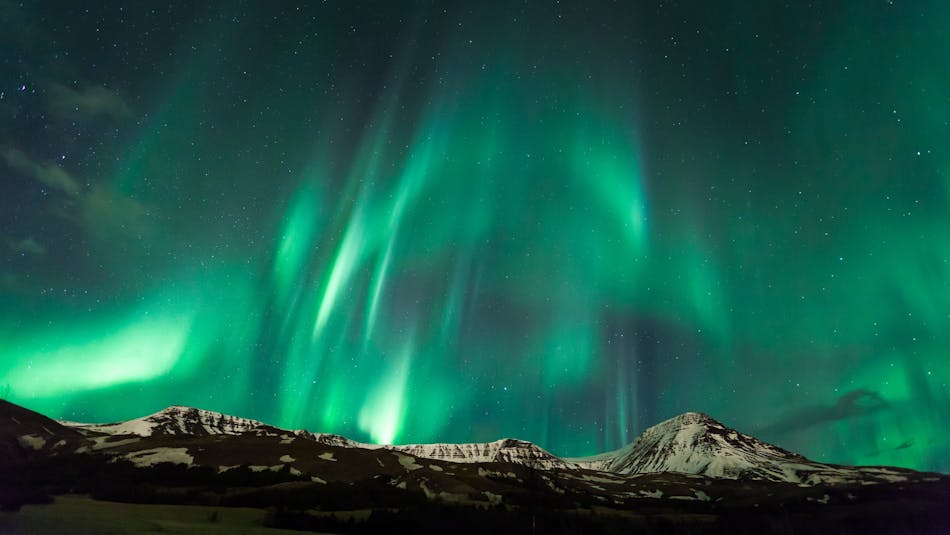
Discover practical tips for immortalizing nature's most mesmerizing light show.
How to photograph the Northern lights with a smartphone